Painting a 3D Design
A 3D design involves using fiberfill to stuff each feature, so that there is dimension to your project. It is a little more work, but some customers prefer this look. Frankly, if you are making my designs for a craft show, or just to sell for pin money, you can charge more for the project.
You will need to follow the basic instructions on the previous dropdown page, until you reach the sewing instructions.
Follow the sewing instructions for the pattern you are using.
You will need to follow the basic instructions on the previous dropdown page, until you reach the sewing instructions.
Follow the sewing instructions for the pattern you are using.
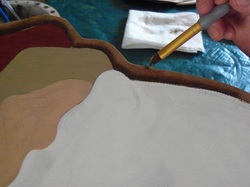
Basecoat your project as indicated on pattern. Paint the outside edges with color indicated on pattern, usually DecoArt Americana
Asphaltum. You will want to paint about 1/4 inch beyond the sewing edge.
Asphaltum. You will want to paint about 1/4 inch beyond the sewing edge.
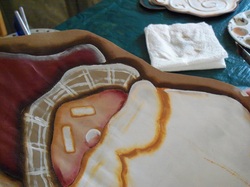
Finish with all the shading and highlighting as indicated on pattern.
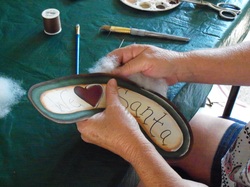
Stuff each feature with fiberfill. I usually use the end of a pencil to help force stuffing in small areas, or a wooden spoon to hep stuff larger features.
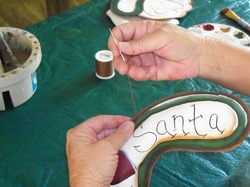
Sew stuffed areas closed with dark brown thread. When finished sewing all areas, touch up any hand sewn areas with the color of paint used in the shading or hignlighting.
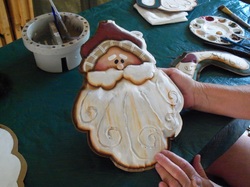
Pictured here is a finished stuffed item. Now finish as instructed in the pattern.
